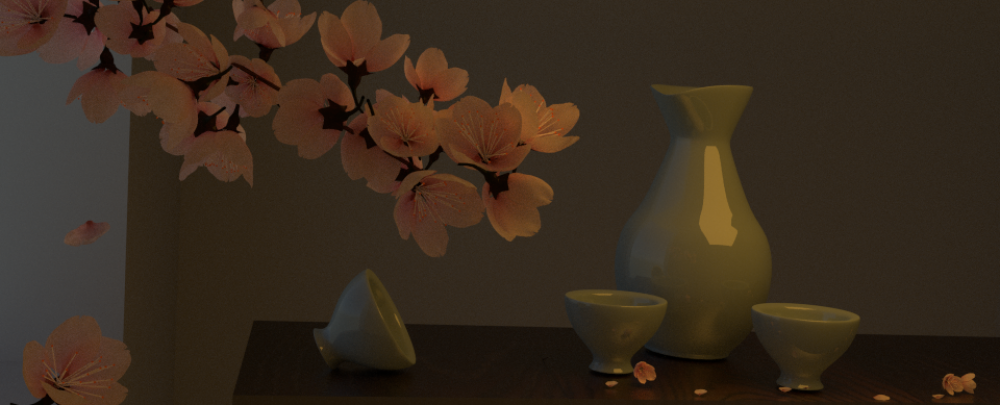
As I’d had some trouble with assigning materials properly in Blender I decided to make a still life scene in order to understand how the work in this program better. As it is currently spring I decided to make a scene based around the Japanese past time of flower viewing, where people have picnics under the cherry blossom trees.


I started off by modelling a sake set and adding a cube underneath to represent a table. I mixed some shaders together (glossy and diffuse) in order to create a shiny ceramic material.

Next I added lighting to the scene and a room so the scene was not set in space. I like the effect of having world lighting coming through a window in an interior scene and then having a yellower light from the inside of the room as I think it makes the scene look very realistic, and I will definately keep this in mind for the future.

Next in a new scene I started to model a cherry blossom tree branch. The flowers were quite hard to do as they are very intricate and require several small parts. Extra texture was added to the petal to make them more realistic by adding displacement to them. The material was also quite complicated to complete, as the petals needed to be semi transparent and translucent in order to appear realistic.

I added some of the flowers and some petals to the mid ground of the scene in order to spread the pink colour throughout the frame and to make the central composition more interesting.

Next was to model the branch. Here I should have used python scripting to do this as manually placing them was starting to overload my cpu and blender was starting to become very laggy, meaning some flowers were placed just off the branch or overlapping another flower. In the future I am going to invest in a better computer set up with a dedicated graphics card and high processing power in order for this not to happen.


Next was to add the branch to the foreground of the scene and to position the camera correctly. Here my laptop became incredibly difficult to use due to the high number of polygons and placement or the branch became very challenging.
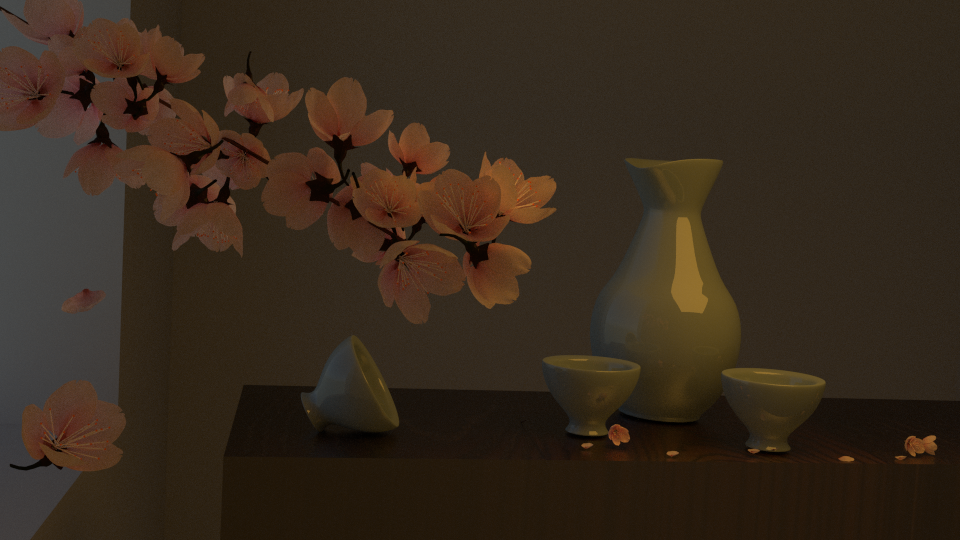
Here is the final render. I am very pleased with the result although the placement of the of the objects could use a little tweaking. I will try working on this file on a computer with a better set up in order to do this. I would also like to add some liquid flowing from the upended sake cup and increase the samples of the image to make it higher quality but for a first start I would say this is pretty good. I have learnt a lot about materials and modelling in blender through doing this and so this should help me further my other work in this project.
